Luckily, the time of overcooked, undercooked, and over-roasted food is over. The new rich in flavor era has come to challenge our palate and inspire our cooking skills. There are also no more greasy sauces and too fat gravies since the deglazing techniques have saved us from many boring dishes and tasteless overcooked meat.
By switching over TV channels, you will encounter cooking programs where skillful chefs boast and show off their little secrets and perfections in kitchens. One of the skills you should achieve is how to deglaze the pan and highlight the smell, flavor, and texture of the dish. Let’s see what the secret of this procedure is.
This article will cover
- The Purpose of Deglazing.
- Deglazing a Pan.
- The deglazing technique.
- Deglazing fluids.
- Deglazing with alcoholic drinks.
- Deglazing with non-alcoholic liquids.
- How Long to Deglaze the Pan?.
- Deglazing inside the Non-Stick Pan.
- How to Use a Deglazing Pan Mixture?
The Purpose of Deglazing
Deglazing is the method that will help you achieve perfection when you want to boost the flavor of prepared meat in a frying pan. You can also highlight the texture of the vegetables you have stirred and grilled in the cast iron pan.
In the past, the brown sticky leftovers in your pan meant that you ruined the perfect piece of meat or veggies. Luckily, that time is over! Nowadays, you need to let the food stick to your grill pan or even non-stick pan to make the delicious gravy for meat or a tasty base for the veggie sauce.
The small pieces, sticking to the bottom of the pan, or a portion of piquant, caramelized meat adhered to your dish, are far too precious. They are an essential part of your deglazing technique. However, you have to make a difference between burnt meat or vegetables and sticky aromatic food.
Your sense of smell will quickly reveal the difference. In case you face the smelly, too-brown, or even blackish food in your pan, you shouldn’t bother with deglazing. It means that dinner preparation went bad, and there is nothing you can do.
If your nose detects the tangy and mouth-watering vapors from the pan, you are on the right path to get a chance to deglaze your pan and make the perfect dish. Let’s see how to do that.
Deglazing a Pan
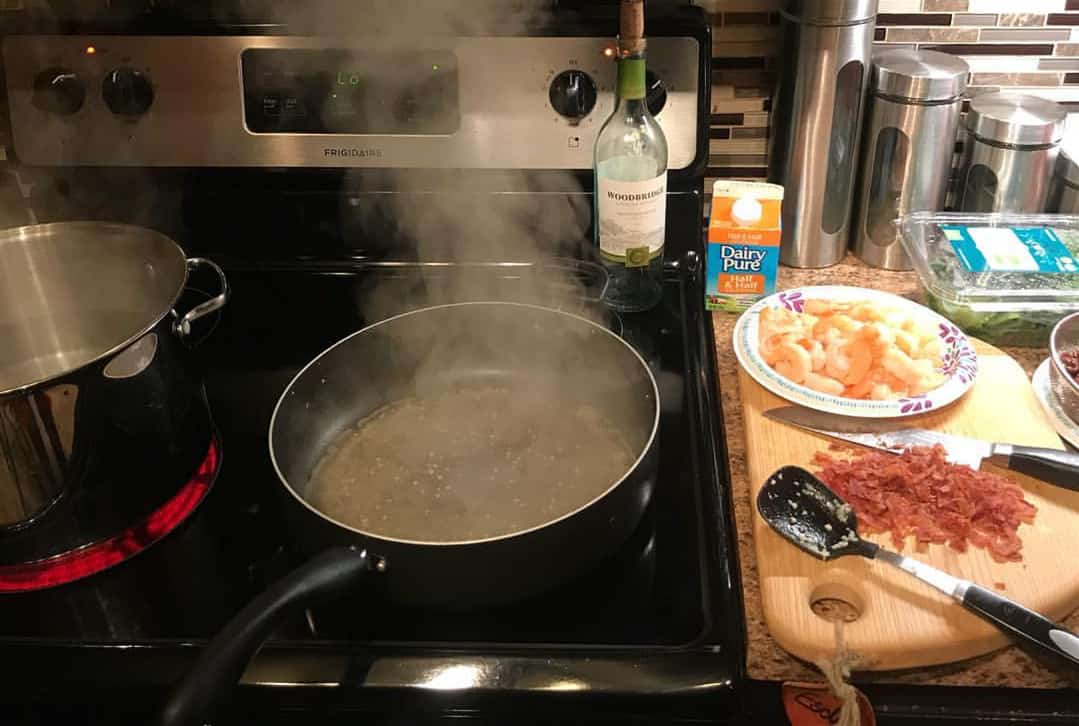
At first glance, the deglazing process looks like the quick pouring of liquid into the pan while it is hot. However, the purpose is to pick up all those small particles sticking to the pan and make them part of that liquid.
Most of the time, the deglazing technique depends on several factors. I will give you some primary deglazing instructions that will help you reach perfection.
The deglazing technique
First, you should decide what to cook in your pan. Then, you need to find the best possible recipe or make a meal according to your concept. Once the food is done and you have some pieces stuck to the pan, it is time to take the meat or vegetables out of the pan.
If there is too much fat in the pan, you should remove the surplus. Keep in mind that there is no need to remove all of it. Also, don’t decrease heat since the pan should be hot to make a process perfect.
The next step is to pour the liquid of your choice or according to the recipe over the remains. Avoid water if you want to add extra flavor, but it will be crucial to soften the taste of your meal when necessary.
Now, it is time to scrape the food residue from the pan with a spatula. Stir the mix of liquid and leftovers while bubbling and boiling. Now, when you encounter the term ‘fond’ in your recipe, you’ll know it refers to the flavorful residue in the pan that you’re scraping and incorporating into your deglazing liquid.
Once you have made the fond compact, it is time to add other supplements and spices according to your taste. Keep stirring the content and let it boil until half of the liquid evaporates. How long you should do that will depend on the recipe and the density you want to achieve. For the final touch, you should try the fond and add more spices if needed.
Deglazing fluids
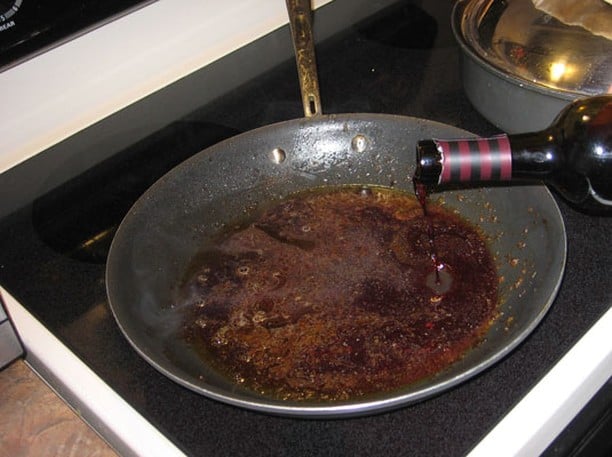
Your choice of fluid for deglazing the pan will depend on your personal preferences and the specific recipe you’re following. There are two primary categories of deglazing liquids, alcoholic and non-alcoholic.
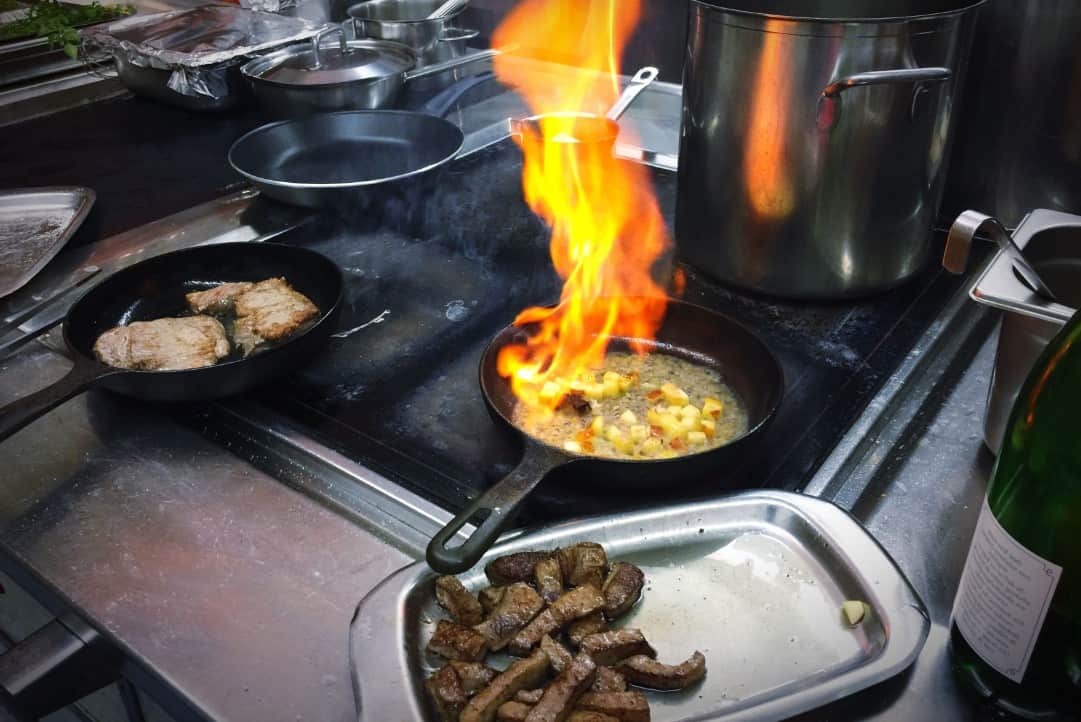
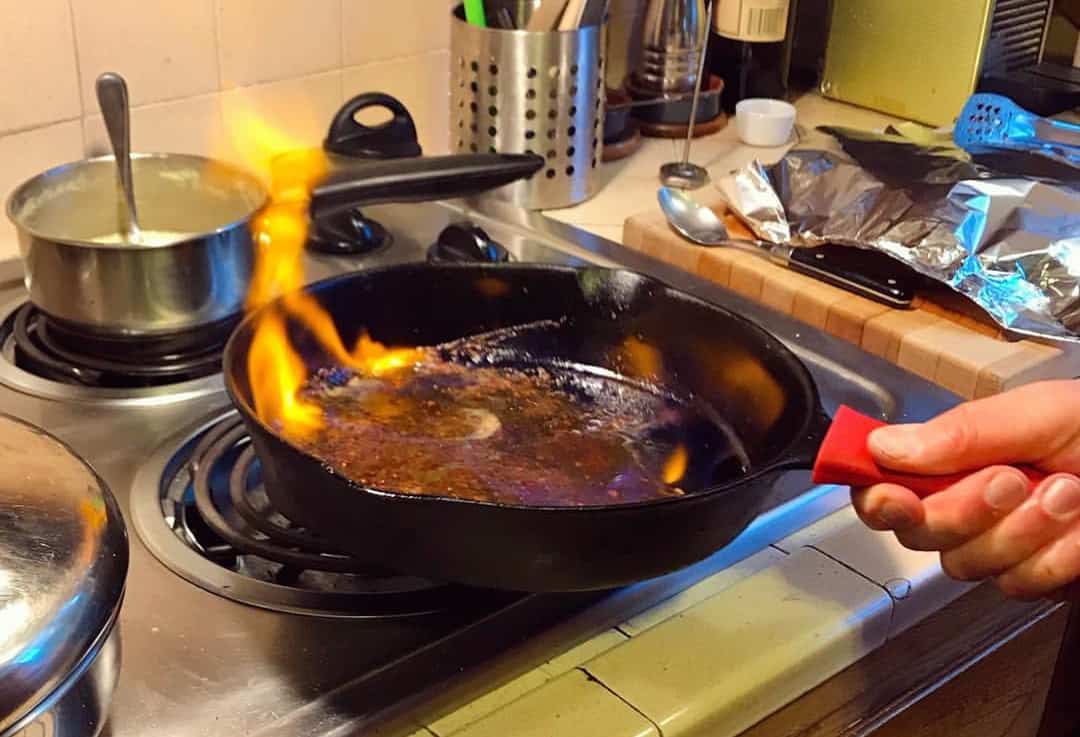
Flambéing, or igniting alcohol in the pan, can add an exciting element to your cooking process if you choose a dish that involves alcohol for deglazing. If you are not a skillful chef, you shouldn’t try this method at home.
Deglazing with alcoholic drinks
You have probably seen professional chefs pouring wine in a meal. The reason for that is the savory taste of wine, which can emphasize the flavor of every meal and make it more special.
If you are a whiskey lover, you will be delighted to hear that this booze can improve and enrich many specialties you decide to prepare. Keep in mind that the whiskey is flammable. So, be ready not only for a tasty meal but also for a fire show if you are in a fancy restaurant. However, be careful when you use it in your kitchen.
Bourbon is another alcoholic drink with a strong taste that can add spiciness and sharpness to your fond. Since it is a traditional aristocratic drink, it will also add a bit of tradition to your meal.
Transparent but strong vodka is a popular supplement in some dishes. The opinions about it are different. Some chefs love this booze, while others despise it. When you decide to use vodka to improve the taste of your dish, never add too much. In most cases, half the glass or less will be enough.
Deglazing with non-alcoholic liquids
As I have already mentioned, water can be used to dilute the fond if needed. However, it is the wrong choice if your deglazing mix is tasteless. In that case, you need to boost the flavor with some more aromatic juice.
Lemon, grape, and orange fresh-squeezed juices are ideal for adding natural acid zing to your deglazing. They match perfectly with any greasy meat if you want to break the heavy taste.
Red and white vinegar can be a perfect replacement for red and white wine. Vinegar will blend perfectly and highlight the fruity and berry flavor in your meal. When you decide to use vinegar and lemon juice for deglazing, you should mix these aromatic acids with water before pouring them into the hot pan.
In case you want to reach a milder taste of your dish, you can always decide on vegetable, beef, or chicken stock. Since it is full of vitamins, pieces of meat, and vegetable juice, the stock is a supreme deglazing liquid to add to the frying pan.
It is usually my favorite addition to pour when deglazing my pan because the richness of different flavors it provides is incredible.
How Long to Deglaze the Pan?
As you can see, deglazing a pan is the final touch of preparing the food. The process should last for several minutes, but it is hard to determine precisely how long. In most cases, you will need approximately three to six minutes to finish it.
Once you have scraped all leftovers and particles from the bottom of the pan and boiled them to gain texture, you can say it is over. It takes little time to perfect your meal with this technique, don’t you think?
Deglazing inside the Non-Stick Pan
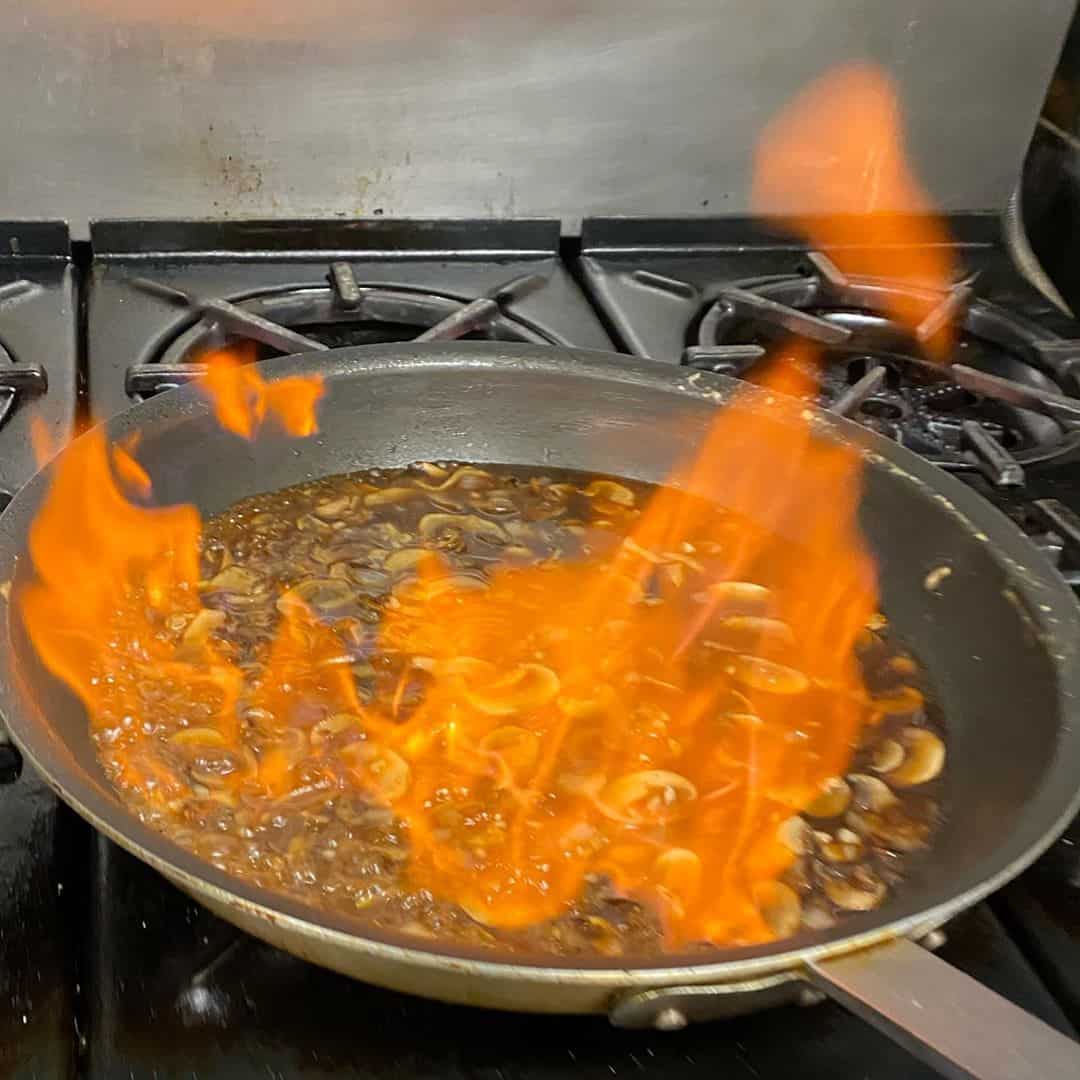
Since the non-stick pan won’t allow food to stick, there is a question of how to deglaze this cookware. There are split opinions. Chefs who prefer using these pans claim that the effect of deglazing is almost the same as in an ordinary frying pan. The only difference is in cleaning and washing.
On the other hand, numerous chefs prepare food only in grill pans, cast iron pans, and fry pans that allow food to stick appropriately. They believe that there is no proper deglazing without sticking. It’s up to you to decide which option serves your purpose better.
How to Use a Deglazing Pan Mixture?
Keep in mind that you need to take out veggies and meat from the pan before pouring the desired liquid. However, some recipes require you to leave the meat and vegetables in the pan when adding the liquid to make a delicious soup.
If you roast and fry just veggies, you can add liquid and stir a bit more. When boiling is over, you can mix and mash ingredients to make delicious creamy soup or potage. That is a highly nutritious and healthy way to use all components contained in veggies.
When preparing juicy meat, deglazing the pan can be a good base for an aromatic sauce that you can use later to pour over the meal. You can also dip in the crunchy bread or roasted potatoes in it.
There is one more option. Use the sauce as decoration on a plate before serving your dinner. It will soften dry meat like poultry and roasted beef.
In Conclusion
Practice makes perfection. Therefore, try deglazing your pan in any of these ways to upgrade your cooking skills. That way, you will also provoke the senses of taste and smell of your guests. The varieties of recipes and ideas can assist you in achieving an excellent deglazing match. Bon appetite!


Michael Johnson is the founder of Pan Mastery, Inspired by his blacksmith grandfather’s legacy has a deep appreciation for hand-crafted pots and pans, he provides invaluable guides, reviews, and recipes to enhance your culinary journey.

