Many people like using non-stick pans, but most of these dishes contain harmful chemicals, which can negatively affect your health. Luckily, there is a quick and uncomplicated way to solve this problem without buying a new pan.
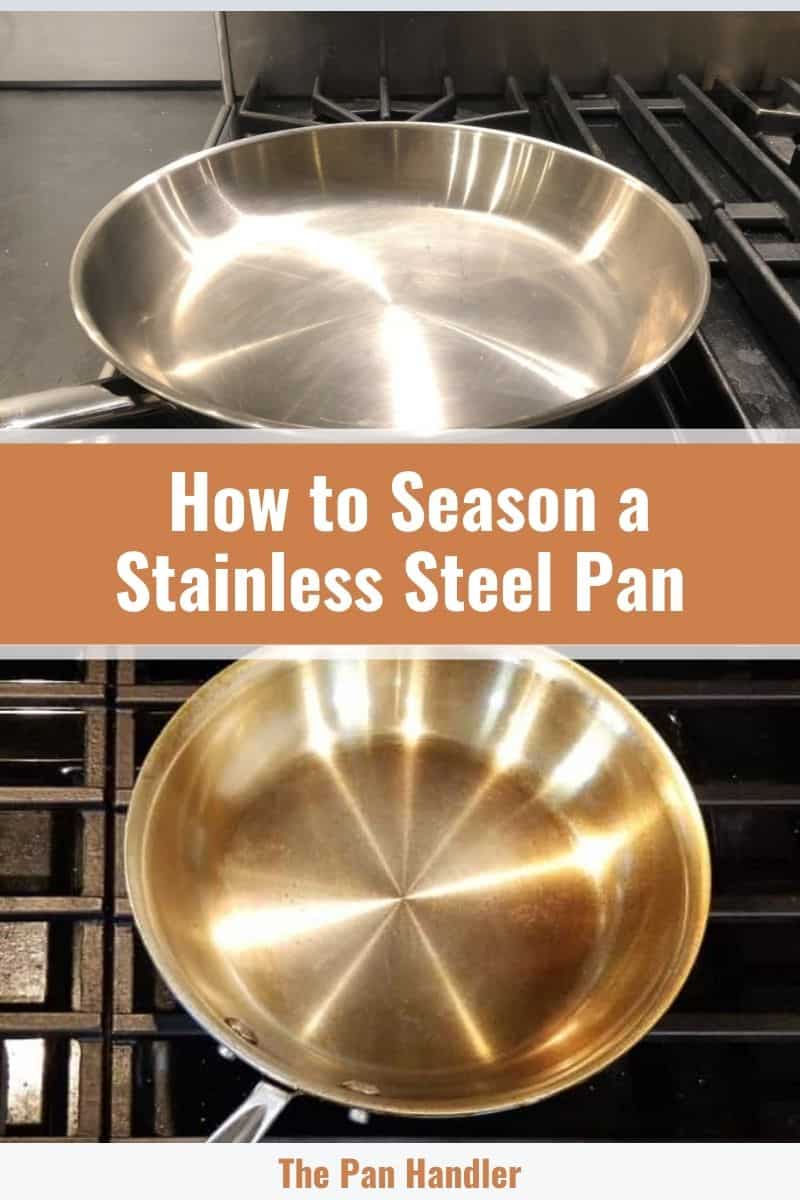
Seasoning is the process of applying a layer of oil to your cookware and heating it before you start using it regularly. Now, let’s take a closer look at how to season a stainless steel pan.
This article will cover
- What Is Seasoning?
- Why Seasoning a Stainless Steel Pan?
- The Process of Seasoning a Stainless Steel Pan.
- The Advantages of Stainless Steel Pans.
- One More Tip.
What Is Seasoning?
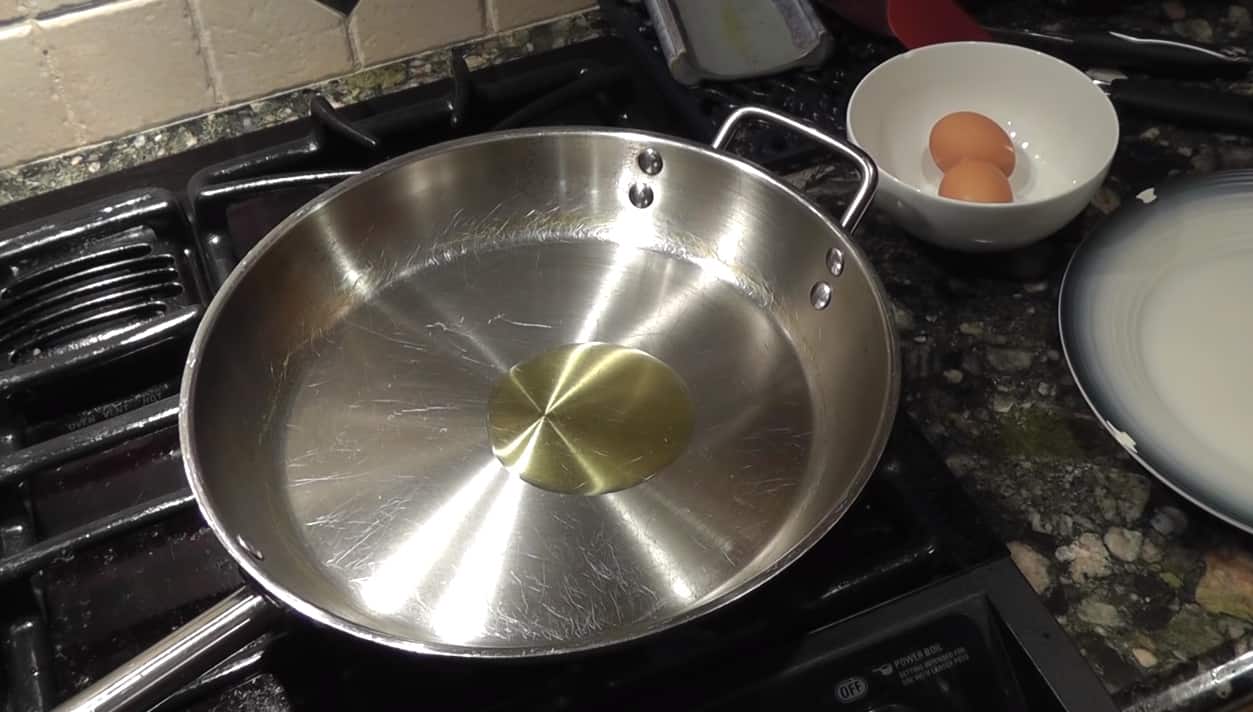
Seasoning is a quick process of preheating your new stainless steel pan with oil, but it is recommended for carbon steel pans and cast iron pans, as well. It helps make a barrier on the pan surface, creates a non-stick coating, and protects the dish against rust. Keep in mind that there is no need to season your cookware before every use.
Avoid washing the pan with soap after the process of seasoning. It will be enough to clean your dish with hot water and a cloth. That way, you will sanitize it and prevent any damage that soap can make.
It will be enough to repeat a procedure twice a year. On the other hand, some cooks are highly against seasoning stainless steel pans because they believe that it is unnecessary work.
When someone uses the term ‘seasoning the skillet,’ they actually mean preparing it for cooking. However, the process of heating and oiling the pan before baking is not the same as the occasional seasoning process.
Why Seasoning a Stainless Steel Pan?
Basically, you don’t need to season your stainless steel pan regularly, but creating a temporary seasoning layer can be highly beneficial. It will prevent transferring the oil to the food when regularly oiling the skillet before preparing every meal and sticking the burnt pieces to the pan surface.

There are a few primary reasons to season your stainless steel fry pan at least twice a year:
Non-Stick surface
The process of seasoning will allow creation a non-stick surface, so you will avoid any issues with taking the prepared food out of the pan.
Non-Toxins cooking
You can find many non-stick frying pans covered with chemicals on the market. This type of cookware is quite dangerous to your health since it releases toxins after heating. Seasoning will help you get rid of this harmful coating.
Easy maintenance
The significant advantage of seasoning is that this process makes cleaning the pan effortless. It will be enough to wash your cookware with hot water and dry it with a soft cloth or paper towel.
Avoid using steel wool and a rough sponge because they can remove the seasoning, necessitating frequent repetition of the procedure.
The Process of Seasoning a Stainless Steel Pan
Step 1. Wash the pan
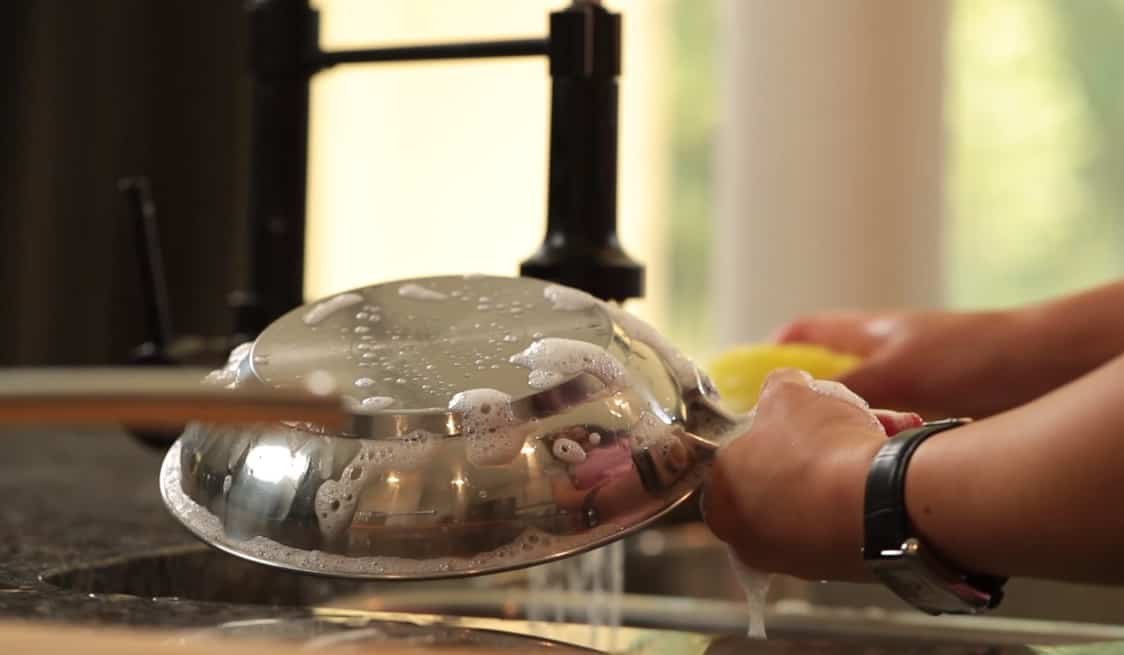
Since you need to start cooking with a clean pan, wash it with soap water thoroughly. You will need a sponge or soft cloth to scrub all the stains if there are any and get rid of possibly existing flavors.
Carefully clean both the inside and outside of your cookware and rinse them with warm water. The best option is to let the pan air dry for approximately 10 to 15 minutes, but you can also use a paper towel for this purpose.
Don’t avoid this step since the oil won’t adhere well to a dirty pan, and you will face dark food stains whenever you prepare your meal.
Step 2. Coat the pan with oil
For this step, you will need an oil with a high smoking point. You should avoid oils with a burning point lower than 300 F (149 C) since they can’t coat the surface of your stainless steel pan appropriately.
One of the best choices:
- Avocado oil with a smoking point of 520 F (271 C)
- Grapeseed oil with a smoking point of 421 F (216 C)
- Canola oil with a smoking point of 428 to 446 F (220 – 230 C)
- Coconut oil with a smoking point of 350 to 450 F (177 – 232 C)
- Corn oil with a smoking point of 446 to 460 F (230 – 238 C)
- Olive oil with a smoking point of 320 to 470 F (160 – 243 C)
- Peanut oil with a smoking point of 320 to 450 F (160 – 232 C)
- Sunflower oil with a smoking point of 441 to 489 F (227 – 254 C)
- Soybean oil with a smoking point of 453 F (234 C)
- Safflower oil with a smoking point of 510 F (265.5 C)
- Sesame oil with a smoking point of 350 to 450 F (177 – 232 C)
- Vegetable oil with a smoking point of 428 F (220 C)
When the burning point of the oil is high, it will quickly react to heat. That means it will better stick to the pan during seasoning, which will allow the seasoning effects to last much longer.
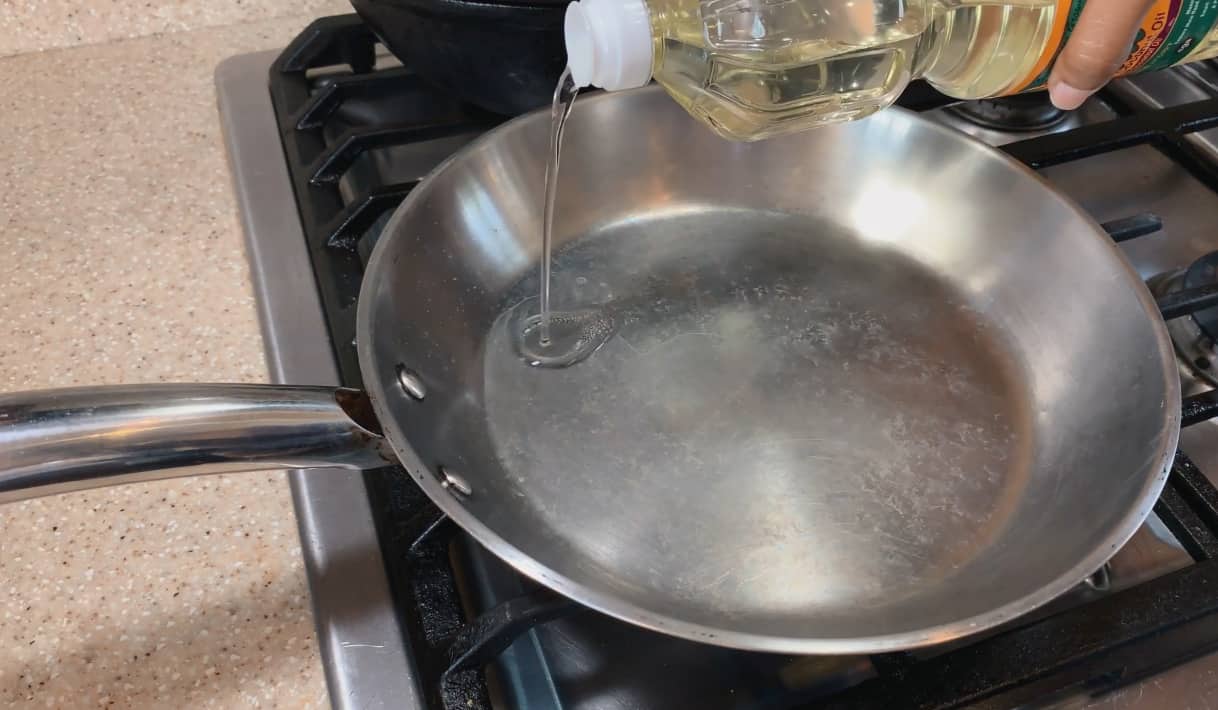
Once you pick out the right oil, you should pour a generous amount into your pan to cover the entire cooking surface. The thickness of the layer will depend on the dish size. In most cases, you will need approximately two tablespoons of chosen oil. Then, move the pan around to cover all the sides evenly.
If you want, you can go a step further and add your favorite seasoning in the pan. That will provide a little extra taste to your future meals. In the end, you will get shiny cookware prepared for your cooking magic.
Step 3. Heat the pan
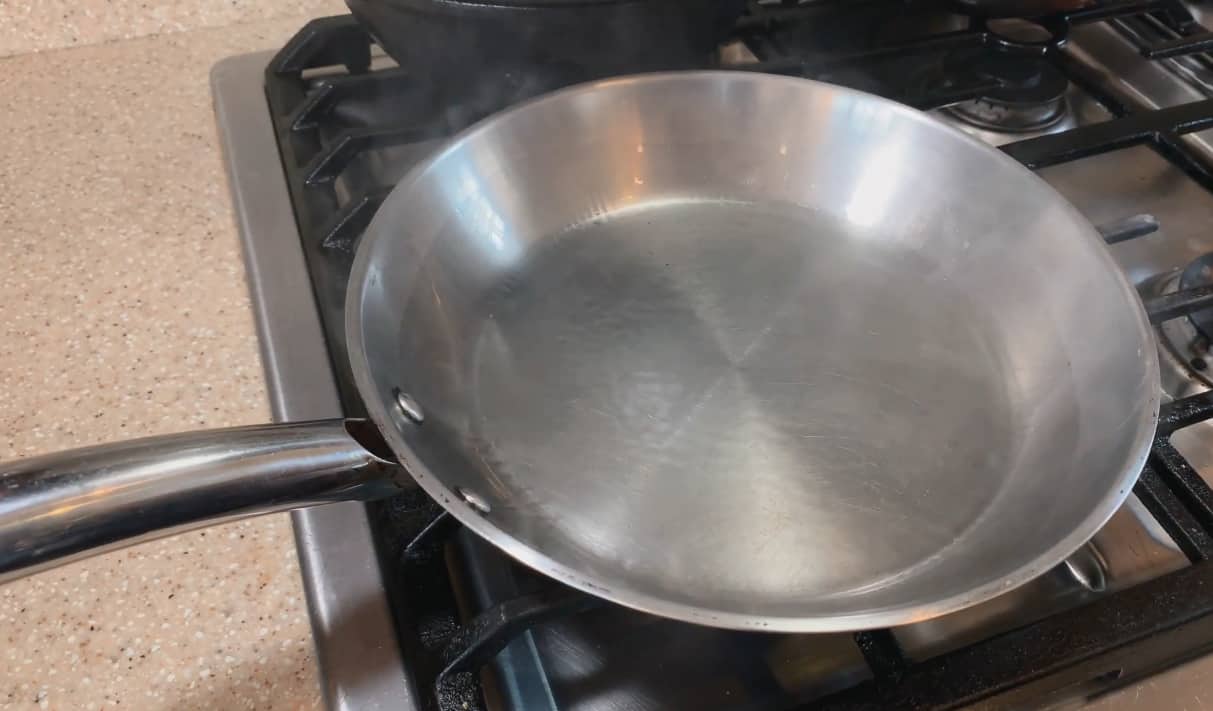
The next step is to heat your oiled pan in the oven or on the stovetop. Keep in mind that the entire process depends on the heat level. So, it is not the same as what method you want to use.
In the oven – Heat the oil on 350 F (177 C) for approximately one hour.
On the stovetop – Let the pan on medium heat, and remove it as soon as the oil begins to smoke. It usually takes about 2 to 3 minutes while the oil seasoning the dish evenly without burning the oil and leaving any spots behind.
Step 4. Cool the pan
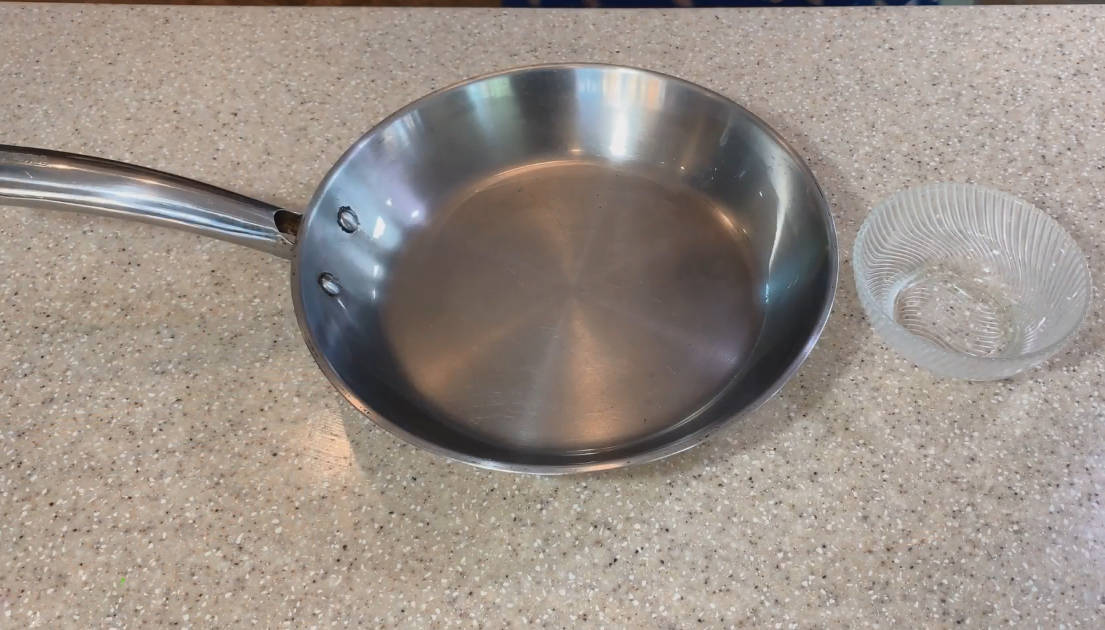
After the stipulated time, you should remove your pan from the heat and cool it for about 30 to 45 minutes. When it reaches room temperature, you can manipulate the seasoned cookware without any fear of burns.
Once the temperature is adequately low, you can remove the excess oil with a paper towel. Be cautious and avoid touching the pan while it’s still hot! This case is one of those when it is necessary to be patient.
Take care to collect the remaining warm oil and dispose of it appropriately. Never pour this oil down the drain, as it can cause blockages and is environmentally harmful.
Step 5. Wipe down the pan
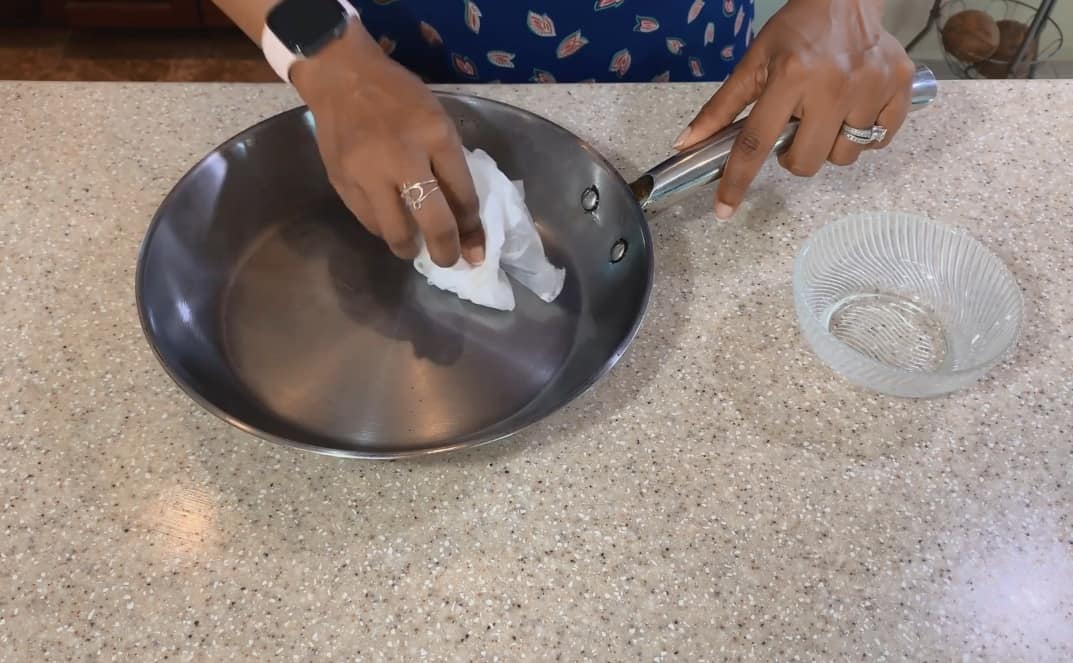
After removing the pan from the stove and cooling it properly, you should use paper towels and wipe it thoroughly. The goal is to remove excess oil from the cooking surface. You will know that you finish the job right if there is a brown line between the part you have just seasoned and the rest of the pan.
Now, you can use your dish to prepare a meal or to store it for future use. The best way is to place a layer of paper towel between each piece to avoid soiling the shelves and scratching the cookware.
The Advantages of Stainless Steel Pans
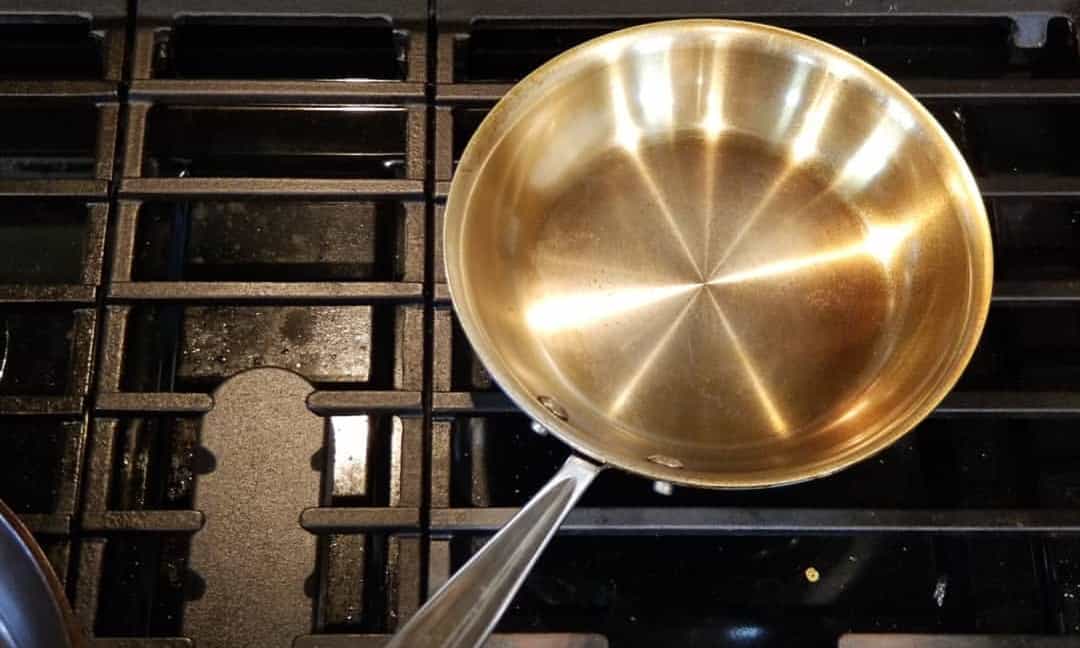
Even though you need to season your stainless steel pan regularly, it is worth the effort. This durable, inexpensive, and versatile cookware tri-ply stainless steel retains and excellently conducts heat.
That ranks it among the highest quality dishes on the market. I will give you a few reasons why it is worth having such a pan in your kitchen.
Durability – Stainless steel is probably the most durable cookware you can get for your money. It will last for decades if you take care of your pan well. Plus, there is no fear of rusting or the appearance of scratches on the surface while you prepare the meal.
Quick heating – This pot excellently transfers heat and allows you to cook at lower temperatures. Models with a base made of copper or aluminum will allow even better heat conductivity. In fact, you will only need a few seconds to heat oil in this cookware if you have a gas stove.
Keeping the flavors – Unlike Teflon and cast iron pans, stainless steel cookware will keep all the flavor unchanged. That means you will enjoy the real taste of food as it is meant to be.
Effortless maintenance – You won’t have much trouble keeping your stainless steel pan clean, whether you wash it by hand or in a dishwasher.
In fact, you will need to clean your seasoned stainless steel pan only when you spot some build-up on its surface. Otherwise, it will be enough to rinse it with warm soapy water and a sponge.
One More Tip
Many cooks do the process of pan seasoning right before cooking. However, you should consider doing this in advance and repeat the process at least twice a year.
Always store your pre-seasoned cookware separate from other pans. Wrap it with paper towels to avoid staining shelves and other dishes.

Michael Johnson is the founder of Pan Mastery, Inspired by his blacksmith grandfather’s legacy has a deep appreciation for hand-crafted pots and pans, he provides invaluable guides, reviews, and recipes to enhance your culinary journey.

After I went through the process of seasoning my stainless steel pan it is gummy. How do I fix & what did I do wrong?
I’ll bet it was the oil. I’ve read that many store-bought oils are cut with cheaper oils (e.g. olive oil cut with safflower or soybean oil). Maybe try an oil with higher smoke point and use the oven method so you can monitor the temperature more closely. Oils heated beyond their smoke point will leave a gummy residue.